
How to Use AirDrop on iPhone: 7 Best Steps, Avoid Mistakes
How to use AirDrop on iPhone? Open the photo, file, or link you want to share, tap the Share button, tap the AirDrop icon, and then tap the name of the nearby iPhone, iPad, or Mac. The other person accepts the transfer, and the file lands in their Photos app or Downloads folder in seconds. You do not need a cable, an app, or mobile data, because AirDrop uses Wi-Fi and Bluetooth to move the file straight from one Apple device to another.
To use AirDrop on iPhone, open the item you want to share, tap Share, tap AirDrop, and tap the nearby device name. The receiver taps Accept, and the file arrives in seconds. Both devices need Wi-Fi and Bluetooth on, and they must be within about 30 feet of each other.
ANSWER BOX 1
AirDrop on iPhone is Apple’s built-in wireless sharing tool, and it sends photos, videos, files, links, and contacts to a nearby iPhone, iPad, or Mac. You open the item, tap Share, tap AirDrop, and pick the device name. The other person taps Accept, and the transfer runs over Wi-Fi and Bluetooth with no cable and no mobile data. In short, learning how to use AirDrop on iPhone comes down to Share, AirDrop, and the device name.
ANSWER BOX 2
AirDrop fails most often because the receiving setting is wrong, the devices are too far apart, or Wi-Fi and Bluetooth are off. Set receiving to Contacts Only or Everyone, keep both devices within about 30 feet, and turn on Wi-Fi and Bluetooth. If a transfer still fails, restart both devices and try again with a small file first.
KEY TAKEAWAYS
- AirDrop sends files straight from one Apple device to another with no cable.
- Open the item, tap Share, tap AirDrop, and tap the nearby device name.
- Both devices need Wi-Fi and Bluetooth on, and they must stay close together.
- Receiving can be set to Receiving Off, Contacts Only, or Everyone.
- The Everyone setting now switches back to Contacts Only after 10 minutes.
Contents
- What is AirDrop on iPhone?
- How to use AirDrop on iPhone in 7 steps
- How to turn on AirDrop on iPhone
- How to AirDrop from iPhone to Mac
- How to receive AirDrop on iPhone
- AirDrop settings explained
- AirDrop not working on iPhone? Quick fixes
- The 30-second AirDrop check before you share
- 5 mistakes to avoid when you use AirDrop
- FAQ
- Final Word
What Is AirDrop on iPhone?
AirDrop is Apple’s wireless file sharing feature, and it is built into iOS on every modern iPhone. It lets you send photos, videos, documents, links, contacts, and even app links to another Apple device nearby. The transfer uses a direct Wi-Fi connection between the two devices, and Bluetooth finds the nearby device first. That mix is why AirDrop is fast, and it is also why it works with no internet connection and no mobile data. Learning how to use AirDrop on iPhone starts with knowing the feature is already on your phone, so there is nothing to install.
The idea is simple, and the result feels almost instant for small files. A photo leaves your iPhone and lands in the other person’s Photos app in a few seconds. A PDF opens in their Files app, and a link opens in Safari. You never type an email address, and you never upload the file to a cloud service first. The file goes straight from your phone to theirs, and that direct path keeps the quality high. Photos keep their full size, and videos keep their full detail. Once you know how to use AirDrop on iPhone, sharing a photo feels as quick as sending a text message.
AirDrop is defined as Apple’s peer-to-peer sharing service for iOS, iPadOS, and macOS devices. It was first built for the Mac, and Apple brought it to iPhone with iOS 7 in September 2013. Since then it has grown with each iOS release, and iOS 17 added NameDrop in June 2023. NameDrop lets two iPhones share contact details by holding them close together, and it uses the same sharing system as AirDrop. The whole feature sits inside the Share sheet, so you can reach it from Photos, Safari, Files, Notes, and most other apps. Anyone can learn how to use AirDrop on iPhone from the Share sheet, because the AirDrop button is in the same place in every app.
How to Use AirDrop on iPhone in 7 Steps
These seven steps cover a full AirDrop transfer from start to finish. Follow them in order the first time, and the process will feel easy after that. Each step takes only a few seconds, and the whole transfer is often done in under a minute. If you follow each step, you will know how to use AirDrop on iPhone without guessing at any screen.
- Check both devices first. Turn on Wi-Fi and Bluetooth on your iPhone, and ask the other person to do the same. Make sure the two devices are within about 30 feet of each other, because Apple Support says AirDrop works inside that range. Keep both screens unlocked, since a locked device may not show up.
- Open the item you want to share. Go to the Photos app for a photo or video, the Files app for a document, or Safari for a web link. Tap the item once to open it, so the Share button knows what to send.
- Tap the Share button. The Share button looks like a square with an arrow pointing up, and it sits at the bottom of the screen in most apps. Tap it, and the Share sheet slides up with all your sharing options.
- Tap the AirDrop icon. The AirDrop row appears near the top of the Share sheet, and it shows the names and pictures of nearby devices. If no device shows up, wait a few seconds, because discovery can take a moment. You can also tap AirDrop to open the full list.
- Tap the device name you want. Pick the right name from the list, and your iPhone starts the transfer. The other person’s device shows a preview of the file with Accept and Decline buttons. Tell them to tap Accept, and the file starts moving at once.
- Wait for the transfer to finish. A small progress ring shows on your screen, and the word Sent appears when it is done. Small photos finish in seconds, while a long video can take a minute or more. Keep the devices close together until the transfer ends.
- Check the file arrived. On the other device, photos land in the Photos app, and files land in Downloads or the Files app. Ask the other person to open the file and confirm it looks right. If the file is missing, check the receiving setting and try the transfer again.
How to Turn On AirDrop on iPhone
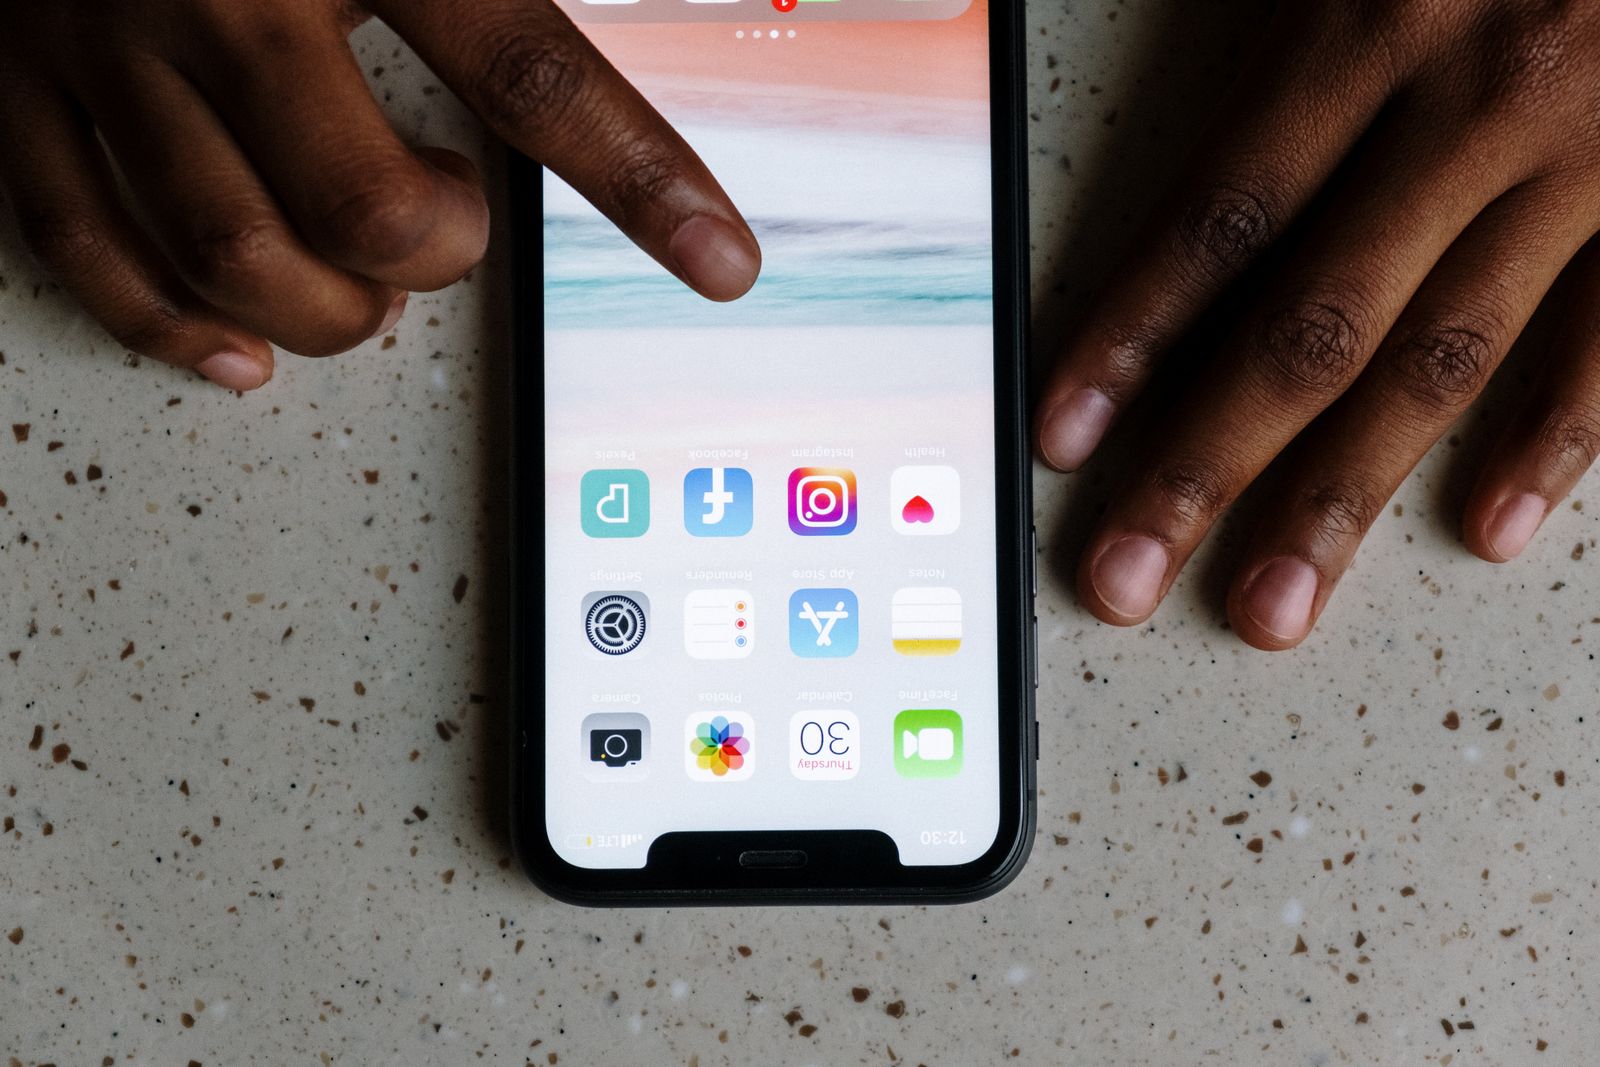
Turning on AirDrop takes less than a minute, and you do it once before your first share. The fastest way is through Control Center, and the full way is through the Settings app. Both paths lead to the same three choices, and you can change them any time. If AirDrop is off, your iPhone will not appear on anyone’s AirDrop list, so this step matters before every first transfer. Before you learn how to use AirDrop on iPhone for the first time, make sure this receiving setting is switched on.
Open Control Center by swiping down from the top right corner of the screen. Press and hold the network settings card in the top left, and the AirDrop button appears. Tap it, and choose Receiving Off, Contacts Only, or Everyone for 10 Minutes. Contacts Only is the safe daily choice, because only people in your contacts can see your iPhone. Everyone is useful at an event, but it switches back to Contacts Only after 10 minutes. That is the whole setup, and it is the first part of how to use AirDrop on iPhone in everyday sharing.
The Settings path gives you the same control with a few more taps. Open Settings, tap General, tap AirDrop, and pick your receiving setting there. This path is best when Control Center feels cramped, or when you want to check the setting slowly. Our full guide on how to turn on AirDrop on iPhone walks through both paths step by step, with fixes for the times the AirDrop button does not respond.
How to AirDrop From iPhone to Mac
AirDrop from iPhone to Mac follows the same steps as iPhone to iPhone, and the Mac side needs only two checks. First, make sure the Mac has Wi-Fi and Bluetooth on, and that it is awake and unlocked. Second, open Finder on the Mac, click AirDrop in the sidebar, and set “Allow me to be discovered by” to Contacts Only or Everyone. The Mac then shows up on your iPhone’s AirDrop list, and you tap its name to send the file. The same idea applies when you learn how to use AirDrop on iPhone to send files to a Mac.
The file lands in the Downloads folder on the Mac by default, and a small alert appears when it arrives. Photos also show up in the Photos app if you open them from there, and documents open in their usual app. Large videos take longer than photos, so keep the iPhone near the Mac until the progress ring ends. If the Mac does not appear, check that both devices use the same Apple ID or that the sender is in the Mac owner’s contacts.
This flow is handy for moving photos to a bigger screen, and it beats email for video clips. You can send a batch of photos at once by selecting several in the Photos app before you tap Share. Our full guide on how to AirDrop from iPhone to Mac covers the Mac settings in detail, plus the fixes for a Mac that never appears on the list.
How to Receive AirDrop on iPhone
Receiving is the other half of AirDrop, and it is just as easy as sending. When someone sends you a file, your iPhone shows a preview with the sender’s name and the file type. Tap Accept, and the file saves to the right app at once. Photos go to the Photos app, and other files go to Downloads or open in their app. Tap Decline if you do not know the sender or you did not expect the file. Knowing how to use AirDrop on iPhone also means knowing how to accept a file when it arrives.
The key is your receiving setting, because it decides who can see your iPhone. Contacts Only means only people saved in your contacts can find you, and that is the safest daily setting. Everyone means any nearby Apple device can see you for 10 minutes, and then it switches back on its own. If you never see incoming files, your setting is probably Receiving Off, and you need to change it before the next transfer.
One more detail helps a lot, and it is easy to miss. The sender must be in your contacts for Contacts Only to work, and your contact card must hold their Apple ID email or phone number. If a friend is not in your contacts, add them first, or switch to Everyone for that one transfer. Our full guide on how to receive AirDrop on iPhone explains each setting, the Accept screen, and where every file type lands.
AirDrop Settings Explained
AirDrop has only three receiving settings, and each one fits a different moment. The table below shows what each setting does, who can see your iPhone, and when to use it. Pick the setting that matches the moment, and change it back when the moment passes.
| Setting | Who can find you | Best use | Risk |
|---|---|---|---|
| Receiving Off | Nobody | When you never want files | None, but you get nothing |
| Contacts Only | People in your contacts | Everyday use, safe default | A new friend cannot find you |
| Everyone for 10 Minutes | Any nearby Apple device | Events, groups, new people | Strangers can send requests |
Contacts Only is the best daily setting for most people, because it blocks random requests from strangers. It needs the sender to be saved in your contacts, and their Apple ID must match the contact card. If a friend is not saved yet, the transfer will not start, and the fix is to add them or switch to Everyone for a few minutes. That small step saves a lot of confusion at parties and in class. Choosing the right setting is part of how to use AirDrop on iPhone safely.
Everyone for 10 Minutes is the open setting, and Apple added the 10-minute limit to cut down on unwanted files from strangers. After 10 minutes it returns to Contacts Only on its own, so you do not need to remember to switch it back. Use it when you meet new people, when you share files in a group, or when a contact card is missing. Do not leave it open longer than you need, and decline any file you did not expect.

AirDrop Not Working on iPhone? Quick Fixes
When AirDrop stops working, the cause is almost always one of a few simple settings. Start with the fast checks, because most failures clear in under a minute. Turn Wi-Fi and Bluetooth off and on again, and check that AirDrop receiving is set to Contacts Only or Everyone. Move the two devices closer together, inside about 30 feet, and unlock both screens. These four moves fix most failed transfers at once. These checks are the fastest way to fix how to use AirDrop on iPhone when a transfer will not start.
If the quick checks do not help, restart both devices and try a small file first. A restart clears a stuck sharing service, and a small photo tests the link without a long wait. Also check that Personal Hotspot is off on the receiving iPhone, because AirDrop and Personal Hotspot do not work together. Turn off the hotspot, wait a few seconds, and try the transfer again.
Older iOS versions can also cause trouble, so check for a software update in Settings and then General and then Software Update. Apple fixes sharing bugs in updates, and an old version may miss a fix. If nothing works, reset network settings as a last step, because that clears saved Wi-Fi and Bluetooth data. Our full guide on AirDrop not working on iPhone lists all seven fixes in order, with the signs that tell you which one you need.
The 30-Second AirDrop Check Before You Share
Most guides jump straight to the Share button, and they skip the one check that prevents most failures. This section is the part other guides miss, and it takes only 30 seconds. Run this check before you share, and your transfers will fail far less often. Think of it as a short pre-flight list for every AirDrop send. That short routine is the easiest way to practise how to use AirDrop on iPhone before an important share.
First, look at the receiver. Is their iPhone unlocked, and is their AirDrop set to Contacts Only or Everyone? If their screen is locked, ask them to unlock it. If they have never used AirDrop, open Control Center together and set it now. Second, look at the distance. Are the two phones in the same room and within a few steps of each other? Walls and long distances weaken the link, so move closer before you tap Share.
5 Mistakes to Avoid When You Use AirDrop
These five mistakes cause most AirDrop trouble, and each one is easy to avoid once you know it. Read the list before your next transfer, and check yourself against it. A small habit change here saves a failed transfer later. Each mistake below is a common way people get how to use AirDrop on iPhone wrong.
- Leaving receiving set to Off. Many people turn AirDrop off once and forget it, and then no file ever arrives. Check the setting before you ask someone to send you a file, and set it to Contacts Only as your daily default.
- Sharing to Everyone and forgetting it. The Everyone setting now ends after 10 minutes, but strangers can still send requests inside that window. Use Everyone only when you need it, and decline any file you did not expect.
- Sending a huge video on a weak link. A long 4K video takes time, and a weak link can stall halfway. Send a small photo first to test the link, and then send the big file while the phones stay close.
- Trying AirDrop with Personal Hotspot on. AirDrop does not work while Personal Hotspot is active on the receiving iPhone. Turn the hotspot off, wait a few seconds, and try the transfer again.
- Sending to the wrong device name. In a crowded room, several devices may share a name like “iPhone.” Check the picture and the name with the other person before you tap, so your photos do not land on a stranger’s phone.
If you want to move photos to a non-Apple device instead, read our guide on how to transfer photos from Android to iPhone for the Android side of the same job.
AirDrop FAQ
How do I use AirDrop on iPhone?
Open the photo, file, or link, tap Share, tap AirDrop, and tap the nearby device name. The other person taps Accept, and the file arrives in seconds. Both devices need Wi-Fi and Bluetooth on, and they must be within about 30 feet of each other. That is all there is to how to use AirDrop on iPhone for a first transfer.
Do I need Wi-Fi to use AirDrop?
You need Wi-Fi turned on, but you do not need an internet connection or a Wi-Fi network. AirDrop builds a direct Wi-Fi link between the two devices, and Bluetooth finds the device first. Turn on both Wi-Fi and Bluetooth before you share.
Does AirDrop use mobile data?
No, AirDrop does not use mobile data, and it does not count against your data plan. The transfer runs over a direct Wi-Fi link between the two Apple devices. You can use AirDrop with no SIM card and no data plan at all.
Why is AirDrop not showing up on my iPhone?
AirDrop may be set to Receiving Off, or Screen Time may block it in some cases. Open Settings, tap General, tap AirDrop, and set it to Contacts Only. If the AirDrop button is missing from Control Center, restart the iPhone and check for an iOS update.
Can I AirDrop to an Android phone?
No, AirDrop works only between Apple devices, so you cannot send files to an Android phone with it. Android phones use their own sharing tools instead. Our guide on how to transfer photos from Android to iPhone covers the Android side.
How far does AirDrop work?
Apple Support says AirDrop works when devices are within about 30 feet (9 metres) of each other. Walls and other signals can shrink that range, so keep the devices in the same room for the best result. Move closer if a transfer stalls or fails.
Where do AirDrop photos go on iPhone?
Photos sent through AirDrop land in the Photos app on the receiving iPhone, in the Recents album. Other files land in Downloads, and you can find them in the Files app. A link opens in Safari, and a contact saves to the Contacts app.
How do I AirDrop multiple photos at once?
Open the Photos app, tap Select, tap each photo you want, and then tap Share and AirDrop. You can send a whole batch in one transfer, and the receiver accepts once for the full set. Keep the phones close until the progress ring ends.
Is AirDrop safe to use?
AirDrop is safe when you use Contacts Only, because only people in your contacts can find your iPhone. The Everyone setting lets strangers send requests for 10 minutes, so use it only when you need it. Always decline files you did not expect, even from a familiar name.
Why does AirDrop keep failing?
The most common causes are a wrong receiving setting, devices too far apart, Wi-Fi or Bluetooth off, and Personal Hotspot turned on. Check those four things first, then restart both devices and try a small file. Our guide on AirDrop not working on iPhone lists all seven fixes.
Can I AirDrop from iPhone to Mac?
Yes, you can AirDrop from iPhone to Mac with the same Share and AirDrop steps. The Mac needs Wi-Fi and Bluetooth on, and Finder must allow discovery by Contacts Only or Everyone. The file lands in the Downloads folder on the Mac. Our guide on how to AirDrop from iPhone to Mac covers it fully.
What is the difference between AirDrop and NameDrop?
AirDrop sends files such as photos, videos, and documents between Apple devices. NameDrop shares contact details when two iPhones are held close together, and it arrived with iOS 17 in June 2023. Both use the same nearby sharing system, but NameDrop is only for contact cards.
Final Word
How to use AirDrop on iPhone is a short skill, and it pays off every time you share a photo, a file, or a link. Open the item, tap Share, tap AirDrop, and tap the device name, and the file arrives in seconds. Keep Wi-Fi and Bluetooth on, keep the devices close, and keep receiving set to Contacts Only for daily use. Run the 30-second check before you share, and most transfers will work on the first try. Try it with a friend today, and the next share will feel easy. Once you have tried it, knowing how to use AirDrop on iPhone becomes a habit you will use again and again.
Read more about AirDrop on Wikipedia: https://en.wikipedia.org/wiki/AirDrop